During Workplace Ninja US, I did an in-person session on this topic, and now I am releasing for all. I’ve built Azure Virtual Desktop environments in a few different ways over the years — quick POCs, “just one host pool” builds, and full-blown enterprise deployments. The problem is the same every time: it starts simple and then you end up stitching together monitoring, scaling plans, RBAC, dashboards, and cost alerts… usually across multiple Terraform folders.
So I pulled everything into one modular Terraform repo that can deploy four AVD patterns (pooled/personal + desktop/RemoteApp), with optional enterprise-grade monitoring, dashboards, cost management, and scaling.
Repo – askaresh/avd_terraform: Azure Virtual Desktop and Terraform. Everything you need in a single repo!

What we are building
This repo deploys a complete AVD environment and supports four deployment types:
pooled_desktop(shared desktops)personal_desktop(dedicated 1:1 desktops)pooled_remoteapp(published apps, shared hosts)personal_remoteapp(published apps, dedicated hosts)
It also follows Microsoft Cloud Adoption Framework (CAF) naming patterns for the main AVD + network resources (host pool, app group, workspace, vnet/subnet/nsg, etc.).
Why this repo is “enterprise ready”
A few highlights that make this more than a basic host pool deployment:
- Scaling plans for pooled deployments (desktop + RemoteApp) and environment-specific schedules
- Monitoring & observability using Log Analytics + diagnostics
- Custom dashboards for operational visibility
- Cost management with budgets + alerts
- CAF-friendly naming so your portal stays clean and consistent
Supported deployment types (quick view)
The configuration automatically adjusts host pool/app group settings depending on deployment_type (pooled vs personal, desktop vs RemoteApp).
| Deployment type | Host pool type | App group type | Notes |
|---|---|---|---|
| pooled_desktop | Pooled | Desktop | Scaling supported |
| personal_desktop | Personal | Desktop | Start VM on connect behavior differs |
| pooled_remoteapp | Pooled | RemoteApp | Scaling supported |
| personal_remoteapp | Personal | RemoteApp | Dedicated apps per user |
Pre-requisites
- Terraform + required providers (azurerm/azuread/random/azapi)
- An Azure subscription with AVD enabled
- Object IDs for users/groups/service principals that should be granted access (
security_principal_object_ids)
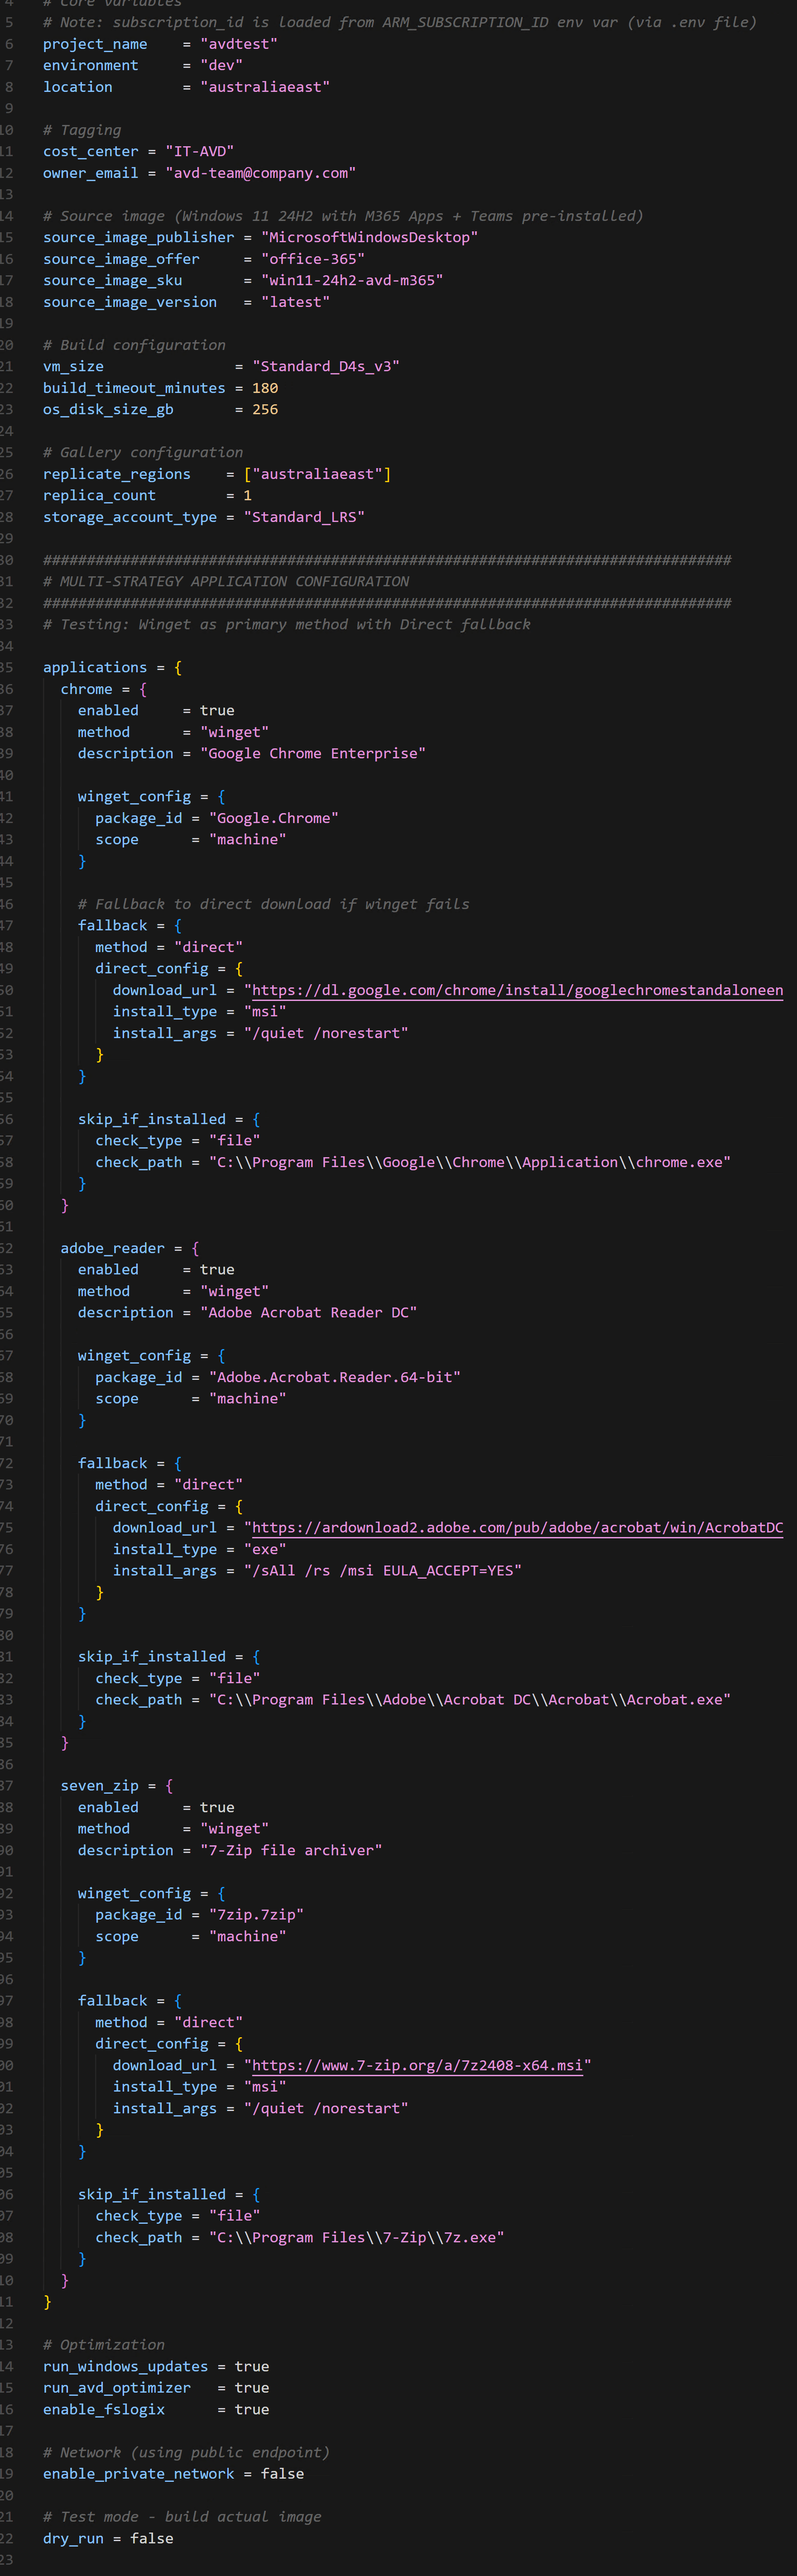
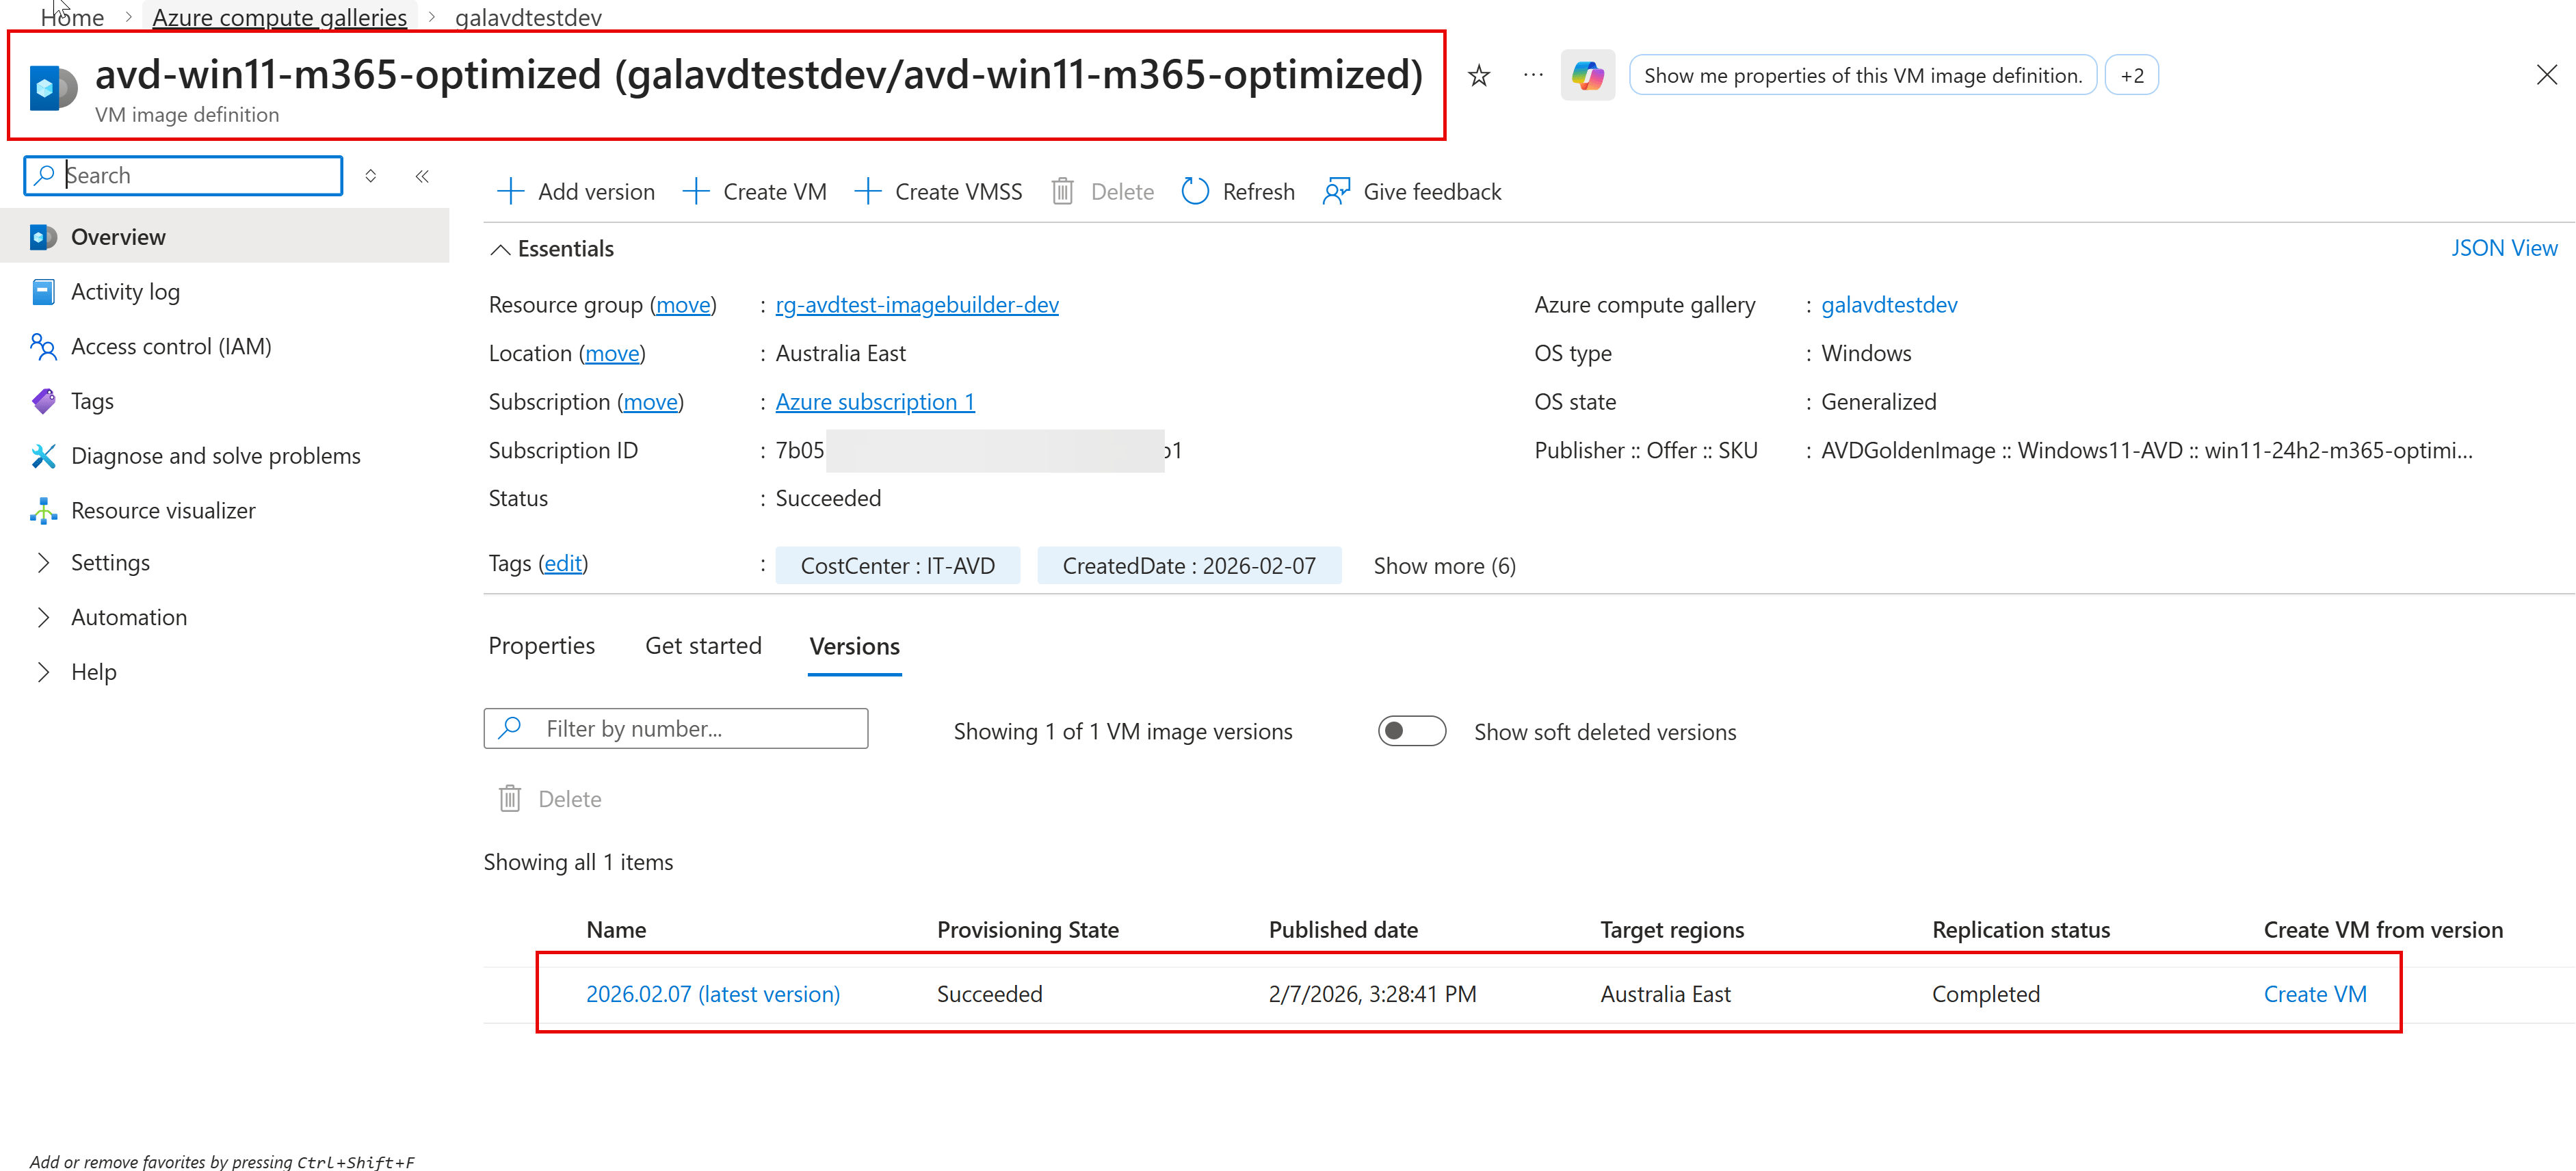
Session host default image SKU in the repo is Windows 11 multi-session + M365 (win11-24h2-avd-m365).
Deployment steps (what I run)
Clone the repo
git clone https://github.com/askaresh/avd_terraform
cd avd_terraform
Pick a deployment file (.tfvars)
The repo includes pre-configured examples for different deployment types (dev/prod, pooled/personal, desktop/RemoteApp), plus enhanced options.
Examples:
dev-pooled-desktop.tfvarsdev-personal-desktop.tfvarsdev-pooled-remoteapp.tfvarsprod-personal-remoteapp.tfvarsdev-pooled-desktop-enhanced-scaling.tfvars
Update the must-have variables
At minimum, set:
security_principal_object_ids(who gets access)admin_password(local admin password for session hosts)
RemoteApp tip: for RemoteApp deployment types, you’ll also define published_applications (apps to publish).
<!-- INSERT SCREENSHOT: tfvars edits (redact secrets) -->
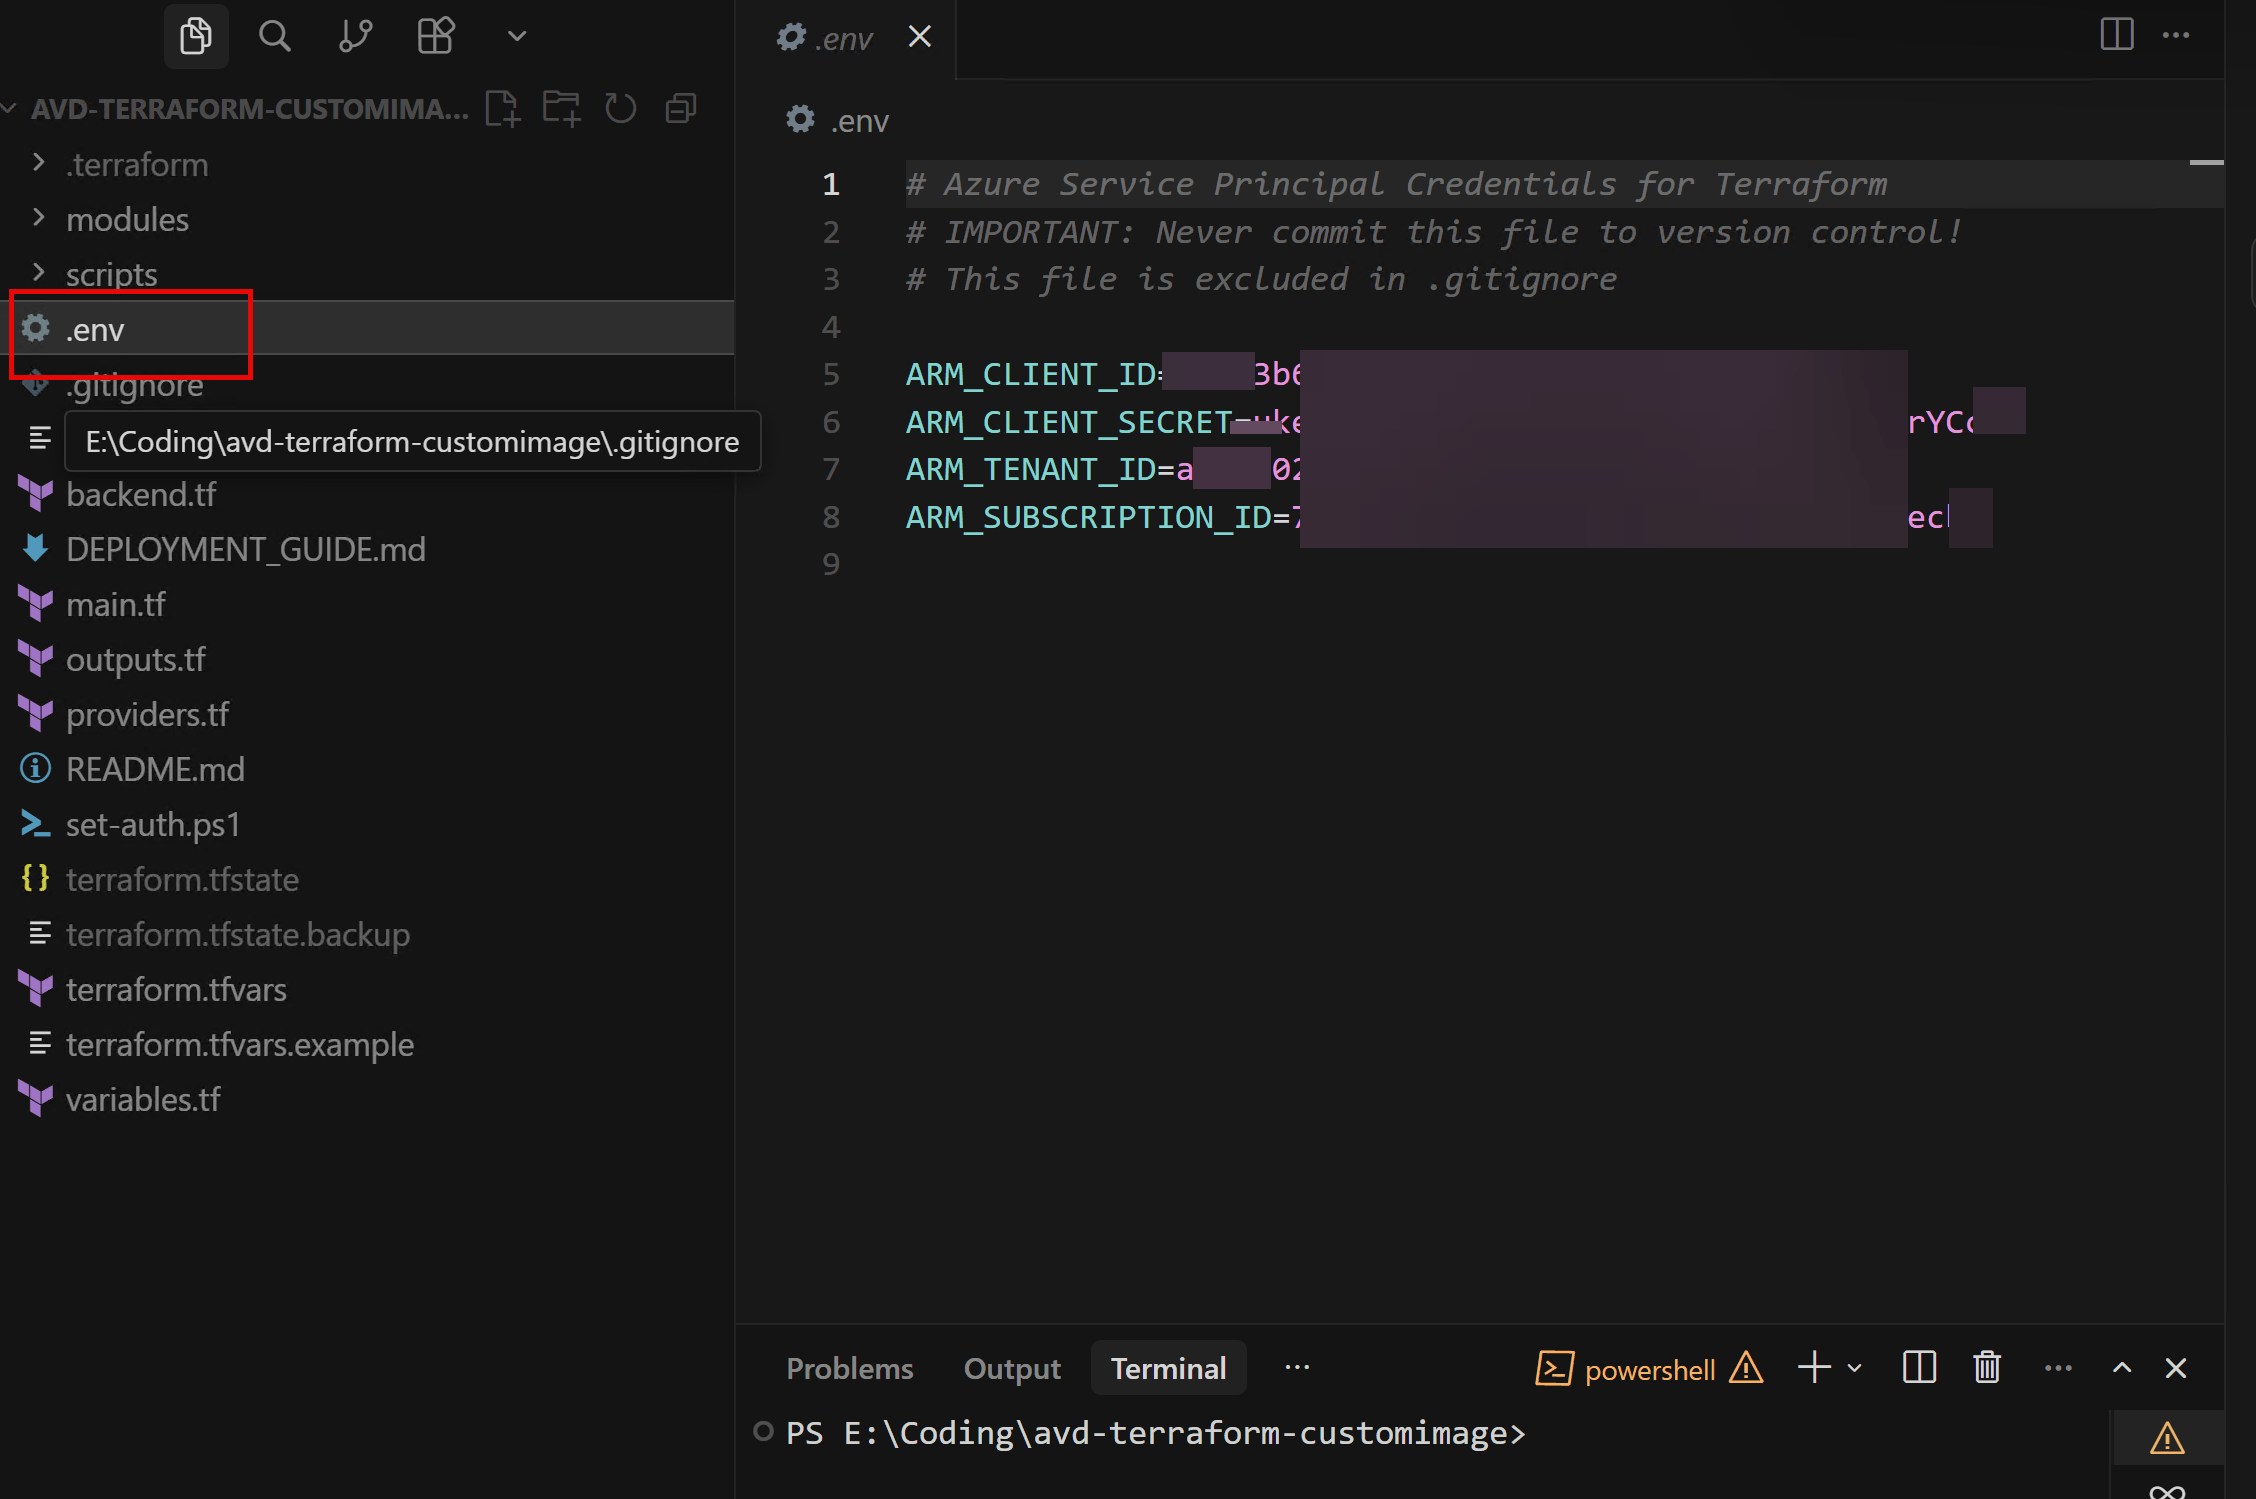
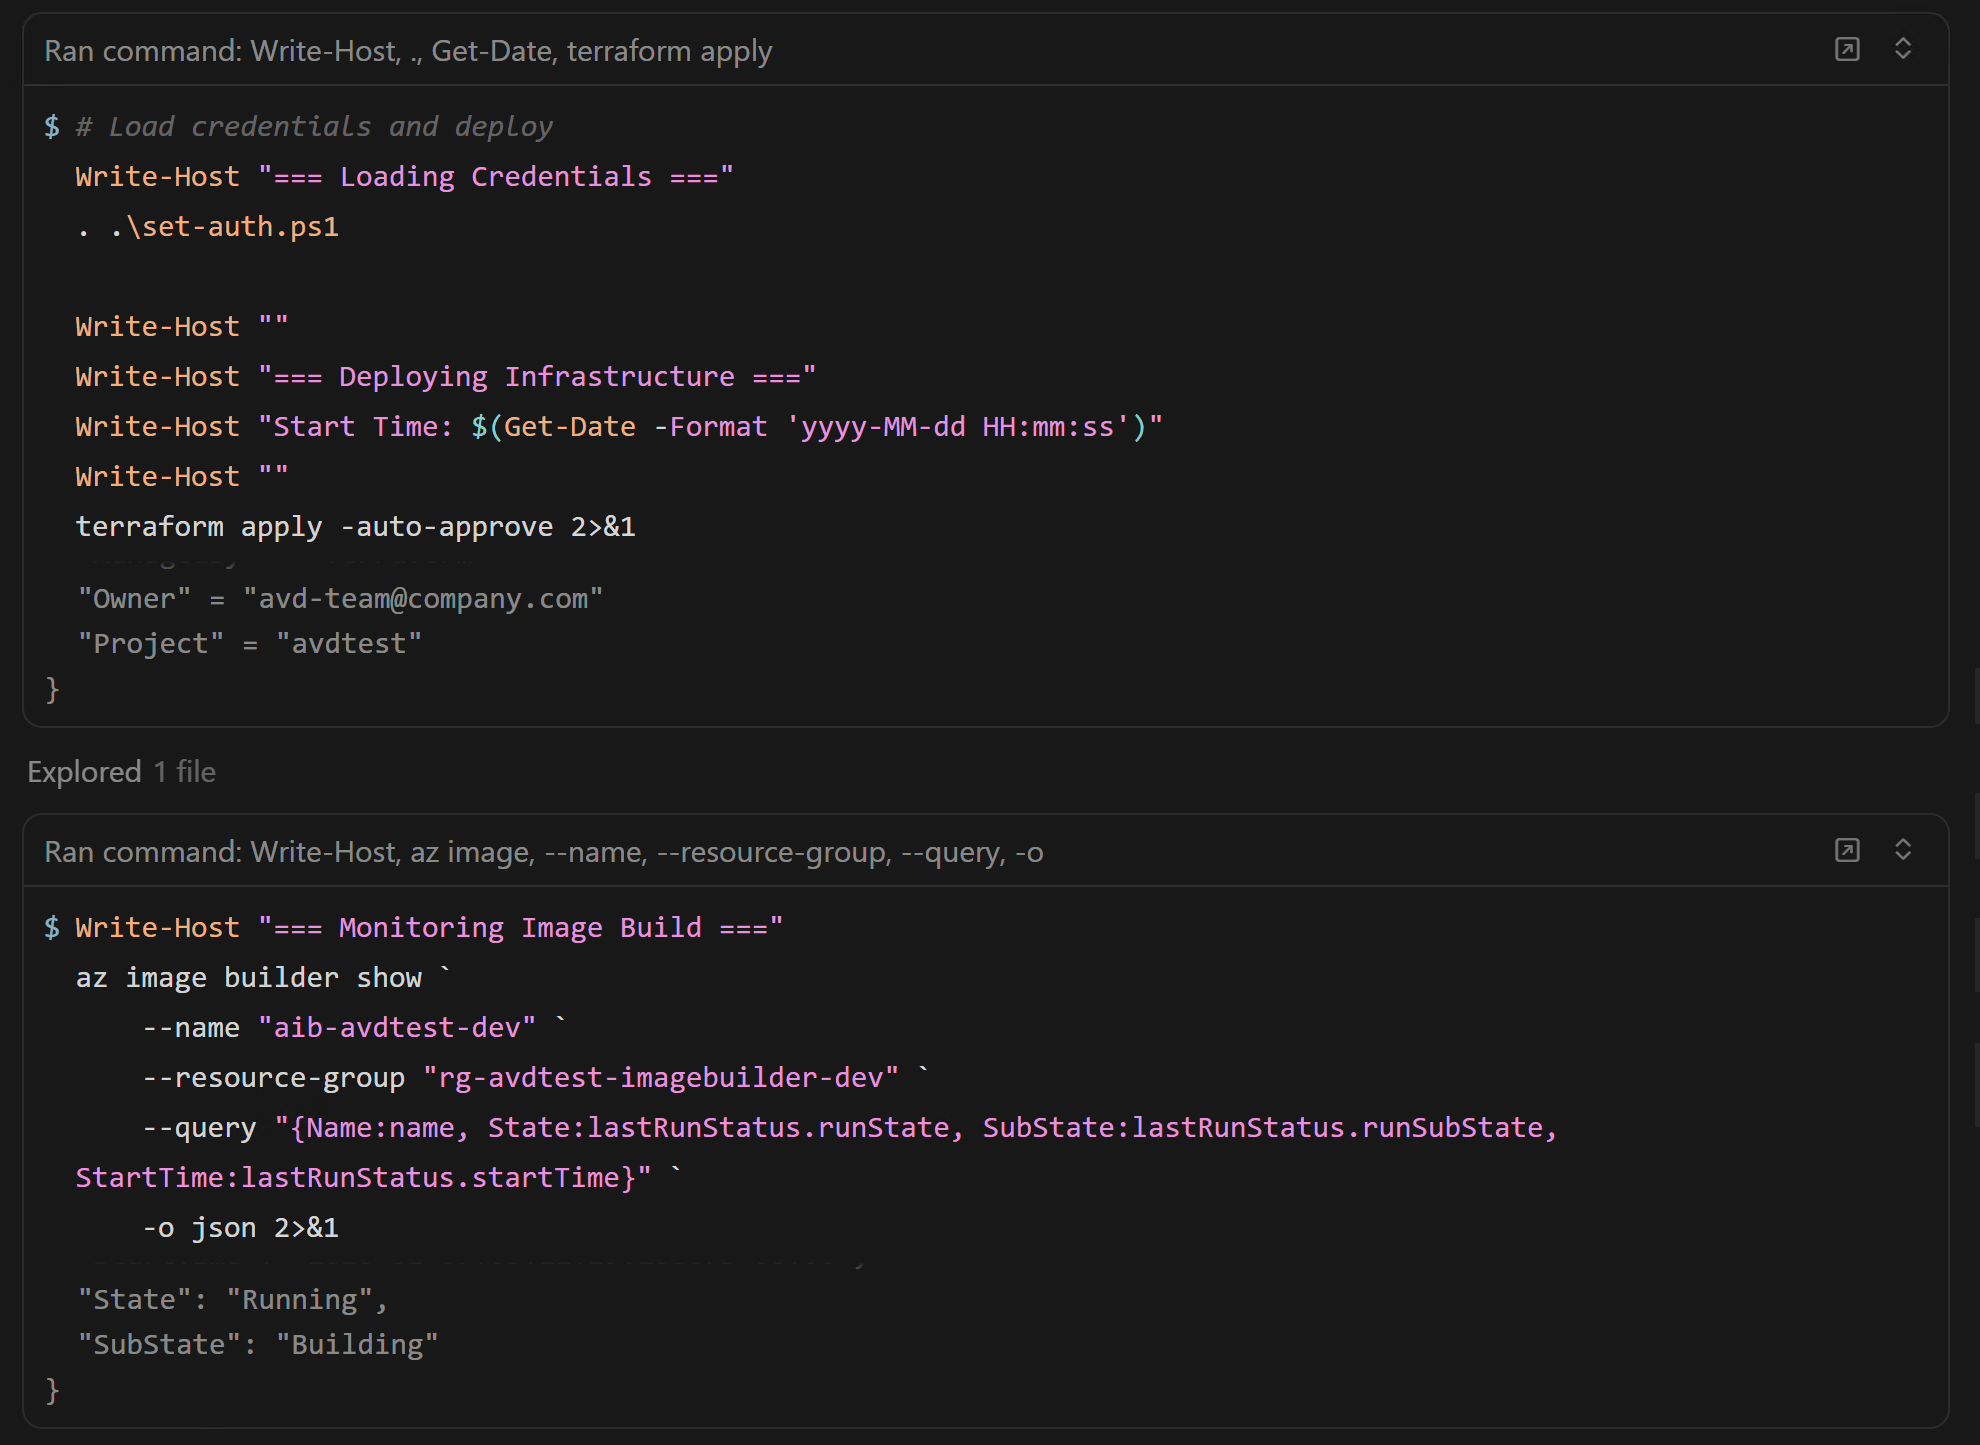
Authentication (repo way: .env + set-auth.ps1)
The deployment guide uses a Service Principal stored in a local .env file (ignored by git), and a set-auth.ps1 script that loads the values into ARM_* environment variables for Terraform.
High level flow:.env → set-auth.ps1 → ARM_* env vars → Terraform
Create your .env from .env.example, then run:
.\set-auth.ps1

Scaling plans note: your Service Principal needs the Desktop Virtualization Power On Off Contributor role at subscription scope for scaling to work properly.
Terraform init / plan / apply
terraform init
terraform plan -var-file=dev-pooled-desktop.tfvars
terraform apply -var-file=dev-pooled-desktop.tfvars
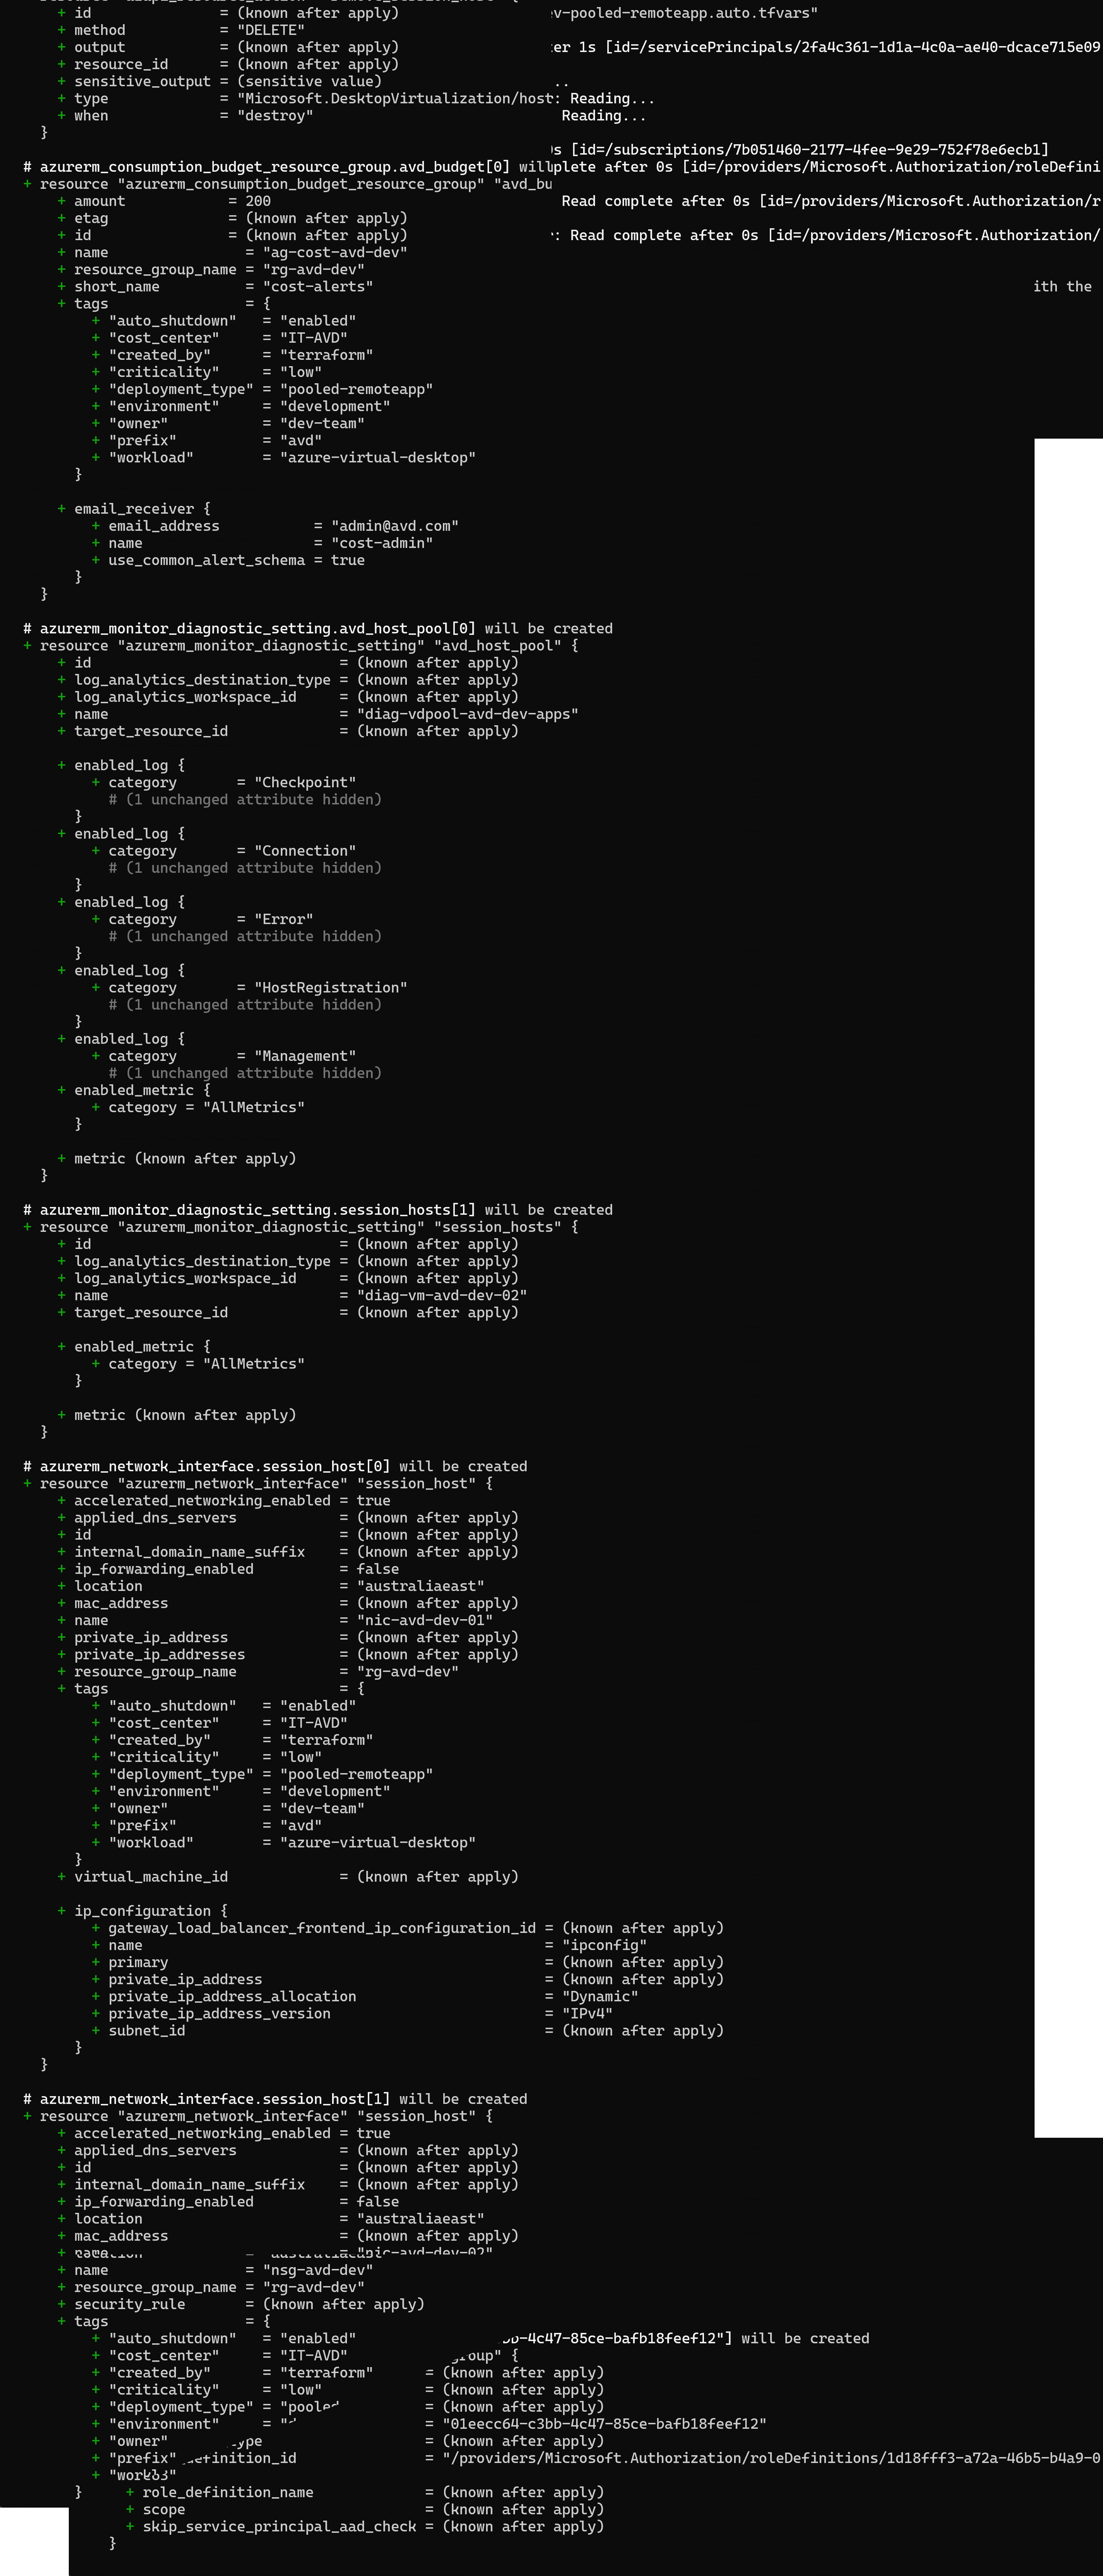
Monitoring, dashboards, cost alerts (optional but worth it)
If you use one of the monitoring/scaling-enabled tfvars options, the repo can deploy:
- Log Analytics + diagnostics
- Dashboards for ops visibility
- Budgets/alerts for cost tracking
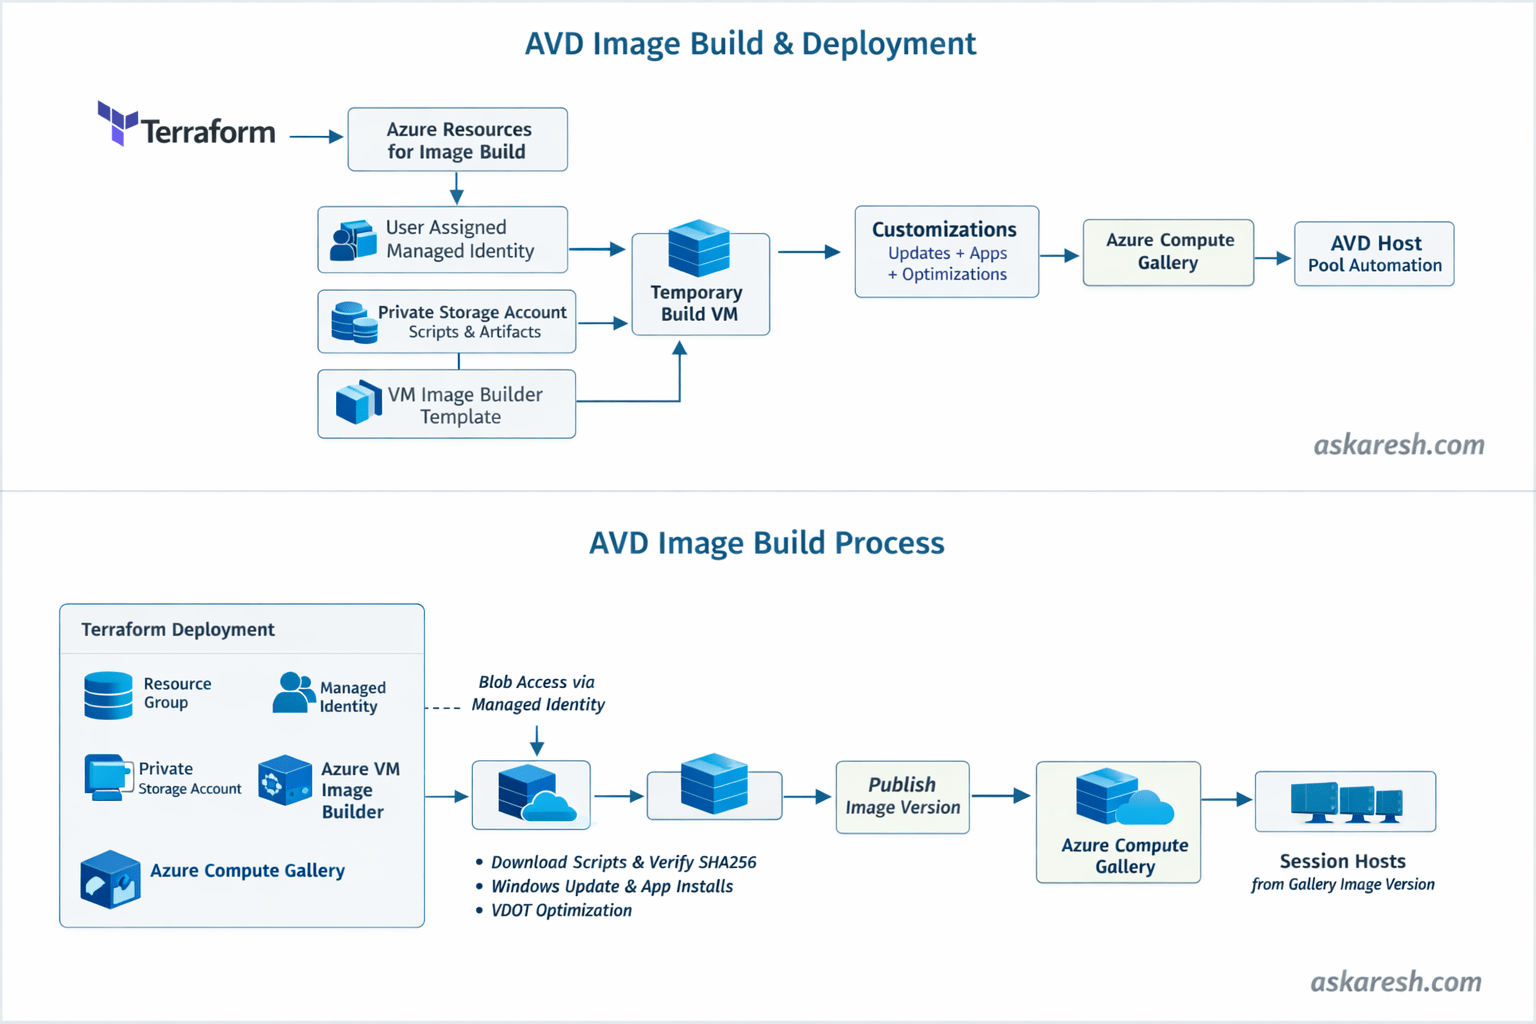
A quick note on dependency ordering (why it matters)
The repo is intentional about resource ordering — especially for scaling plans — to avoid portal oddities and ensure the host pool association is reliable. The dependency flow is documented and includes a separate scaling plan host pool association resource.
Resoure Group (RG)

Application Groups (AG)

Wrap up
If you want a repeatable way to deploy AVD that supports pooled + personal and desktop + RemoteApp, while also giving you the option to turn on monitoring, dashboards, budgets/alerts, and scaling, this repo is designed for exactly that.
Thanks,
Aresh Sarkari


Recent Comments